Did you know STM32CubeIDE supports CMake projects since Version 1.13.0! Here I am going to show a very quick short way to setup a CMake project for baremetal development.
This whole setup is only 4 steps:
- Create a STM32 CMake Project
- Copy/Clone STM32 CMSIS headers
- Download (git clone) cmsis_device_f4 {replace f4 with f1, f0… g0.. etc to match your controller}
- Update CMakeLists.txt file to include the cloned folders
- Write a blinky and test the project
Step 1: Create a STM32 CMake Project


Chose the MCU used


With the project now created, we can see the bare minimum files required to have a compiling project including the linker and startup scripts.
Step 2: Copy/Clone STM32 CMSIS headers
Now, this step is luckily open and continuously updated by STMicroelectronics in their GitHub channel ( https://github.com/STMicroelectronics )
What we need is just a few header files, but I am going to clone the whole repo and let the build pick up the required files.
Note: We don’t need all the files in the repository. Only a few header files specific to the controller being used.
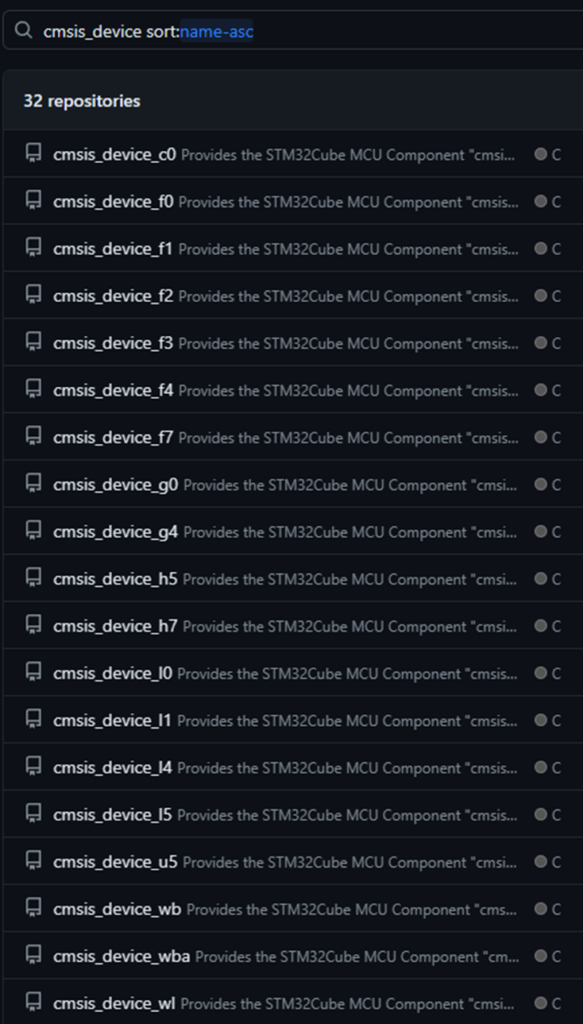
There are 2 repositories we need:
- https://github.com/STMicroelectronics/cmsis_core
- https://github.com/STMicroelectronics/cmsis_device_f4 (This is for F4 devices) Pick the right device repo according to the MCU in from https://github.com/STMicroelectronics

Here I went to the parent folder of the project and cloned the 2 repositories from the STMicroelectronics GitHub

Step 3: Update CMakeLists.txt file to include the cloned folders
Add the Include folders to the CMakeLists.txt file. We won’t need all the files in the folder. I had cmsis_core and cmsis_device_f4 in the parent folder of the project to pack them into a self-contained project.

Define the microcontroller controller being used by the CMake system. Here I am using STM32F411CE. And this is where you tell the CMake system where to find the associated blocks in the header files.

Step4: Write a blinky and test the project
I have my board with pin 13 of port C (PC13) connected to an LED. Let’s do a simple blinky and test it
And it works!!! (Source code below for easy copy)
#include <stdint.h>
#include "stm32f411xe.h"

#define LED_PIN 13

#if !defined(__SOFT_FP__) && defined(__ARM_FP)
  #warning "FPU is not initialized, but the project is compiling for an FPU. Please initialize the FPU before use."
#endif

void delay()
{
    for(int i=0; i<60000; i++);
}

int main(void)
{
    RCC->AHB1ENR = RCC_AHB1ENR_GPIOCEN;

    GPIOC->MODER  &= ~(0x3 << (LED_PIN*2));
    GPIOC->MODER  |=  (0x1 << (LED_PIN*2));
    GPIOC->OTYPER &= ~(1 << LED_PIN);

    /* Loop forever */
    while(1)
    {
        GPIOC->ODR ^= (1U << 13);
        delay();
    }
}